When I decided I wanted to do a DIY makeover of the half bathroom in our home, I thought it would be fun to bring my Instagram family along for the ride. And, call me crazy, but I also left it up to my IG family to decide on what design I would go with! A lot of people DMd me with major concerns about leaving the fate of my bathroom remodel to strangers on Instagram, but I had faith it would turn out great.
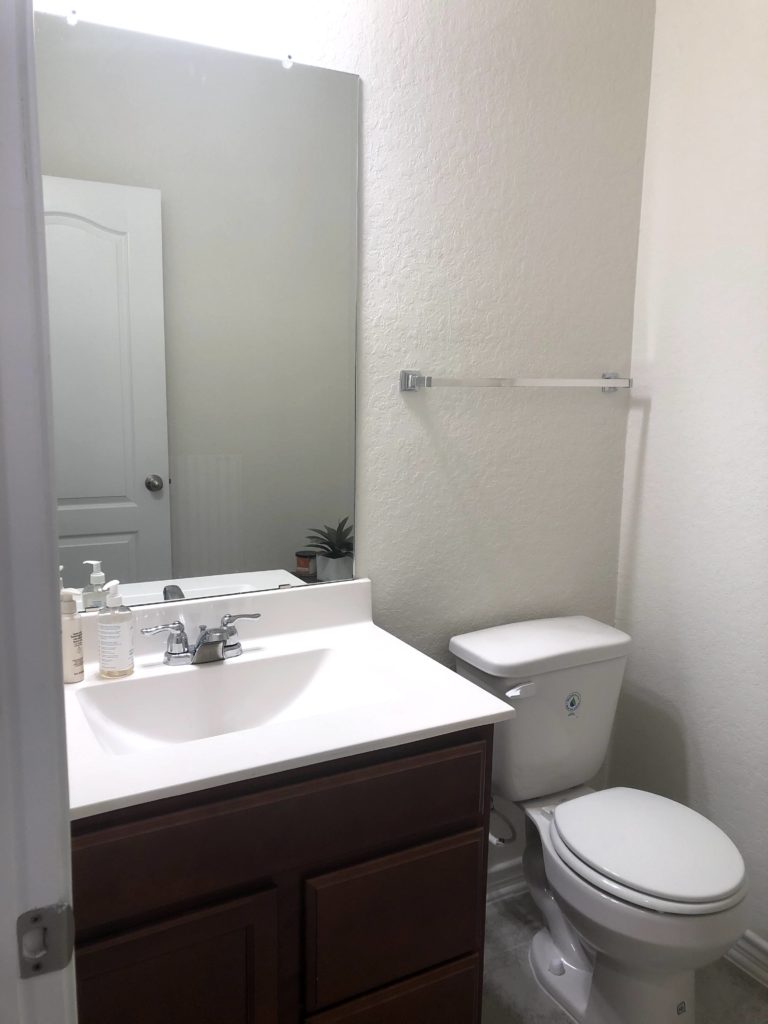
Here’s how the bathroom looked to begin with. Just your typical builder-grade bathroom! Our house was built in February of 2020 and we decided to just get the basic, finishes…nothing fancy because we love updating things ourselves!
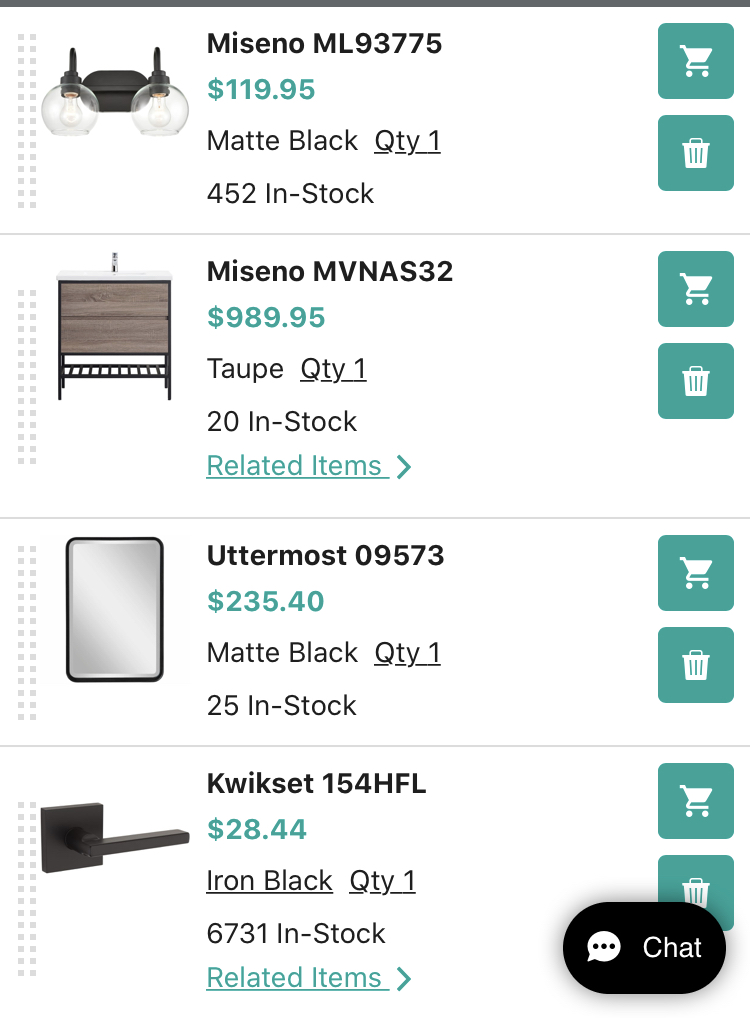
Though DIY projects are my fav, planning a renovation can be overwhelming…then add in the pressure of incorporating other people’s opinions plus doing it in front of a captive social media audience! Yikes! That’s why I turned to the build.com Project Tool to start my project off right and as stress free as possible. The Project Tool is like a wish list/ mood board/ shopping list. As I browsed the site, I added items to my List and checked it throughout the process to see if I was within budget and if I was staying within a general color scheme.
(Preview of the Project Tool below)
Once I finalized my shopping list, I created a quick mockup of what I wanted the bathroom to look like- Moody dark walls on the bottom half, bold wallpaper up top, finishing it off with these statement pieces from build.com. (Direct links to all items are at the end of this post!)
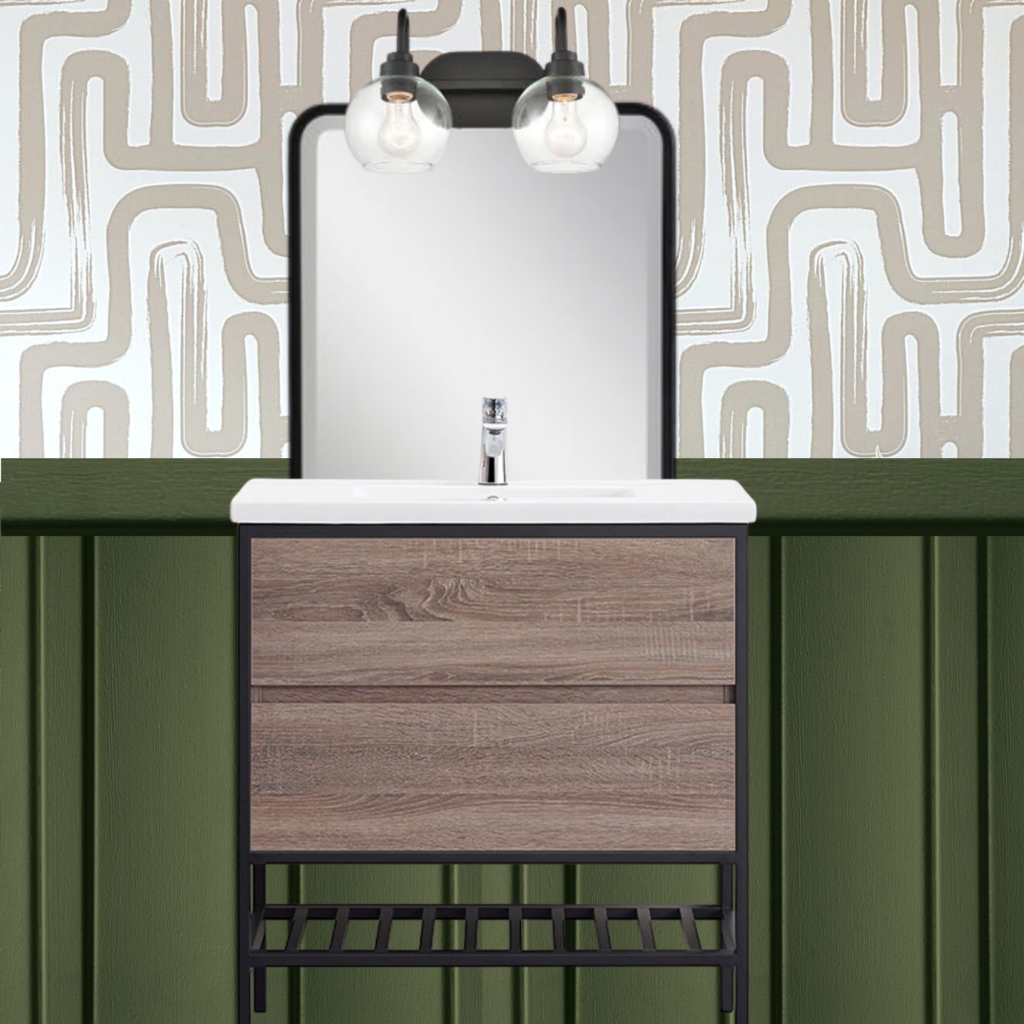
I hit a few snags early on in the project. The vanity that everyone voted on, ended up going out of stock before I could order it so I had to go with a different vanity (Check out this highlight to see what the original votes were on), but once the vanity was picked out- everything else fell into place!
…Until, another roadblock came up. When we removed the old vanity we realized that there were no tiles underneath it and since this new vanity had an “open concept” look at the bottom, that meant I was going to have to add tile to that area of the floor underneath it. I’ve never installed tile in my life and I know it can be an arduous process- but I was determined to keep this completely DIY, so I tried out this hack and it worked! Thankfully the builder of our home left us some extra tiles just in case we ever needed to replace any. I am so glad I didn’t have to go out searching for matching tile!
Once the tile was in, I installed the wallpaper and then it was time to install the fixtures! YAY!
I ordered all of the fixtures (vanity, faucet, lights, mirror, door handle, toilet paper holder) from build.com. I love this site so much because it’s a one stop shop! They have so many amazing items!
Besides the Project Tool and the vast variety of items, here’s what else I love about build.com:
- You can chat with their design experts for FREE while you shop
- Most items ship the next day at no additional cost!


That’s why build.com is usually my first online shopping stop when planning for a home renovation project!
I was looking for simple statement pieces to complement the bold walls and I love what I was able to find! Everything came together so nicely! Take a look at the “After photos” below and keep scrolling to get the links to each item.
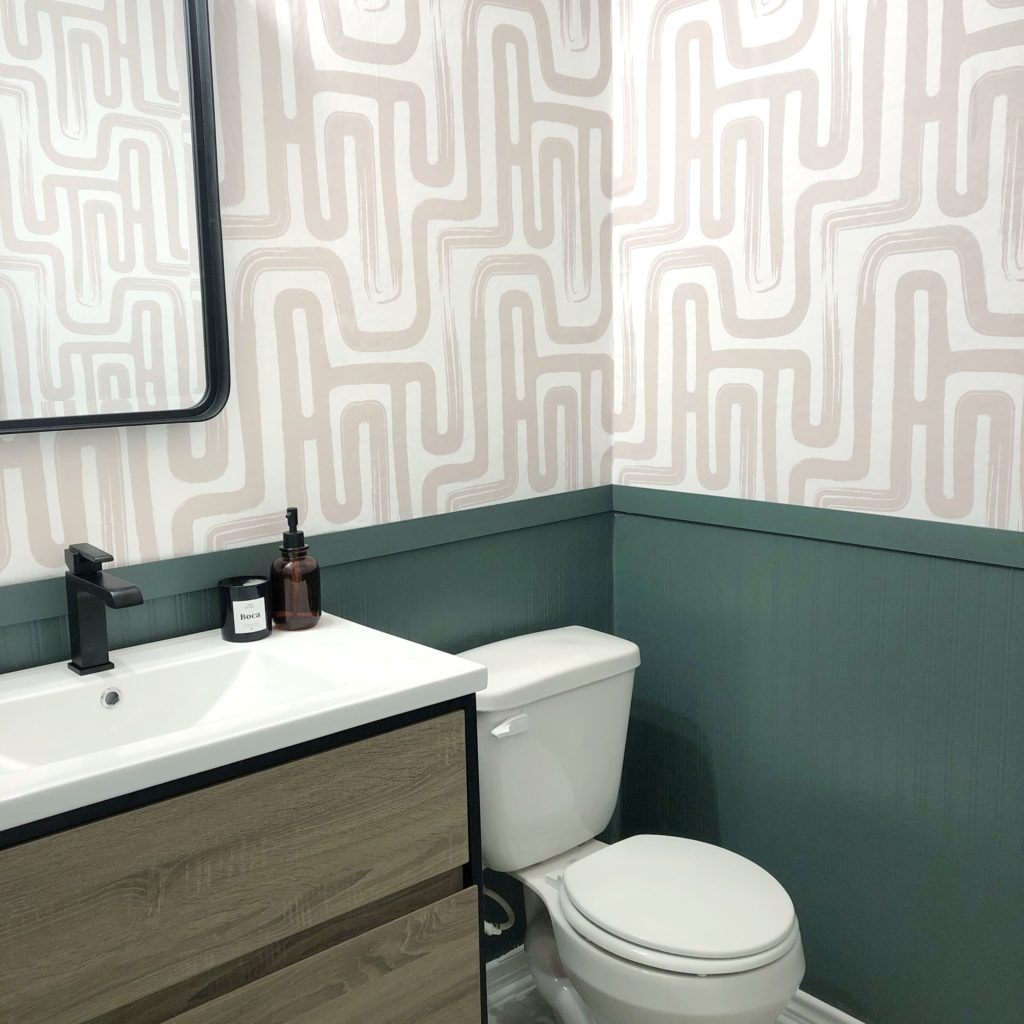
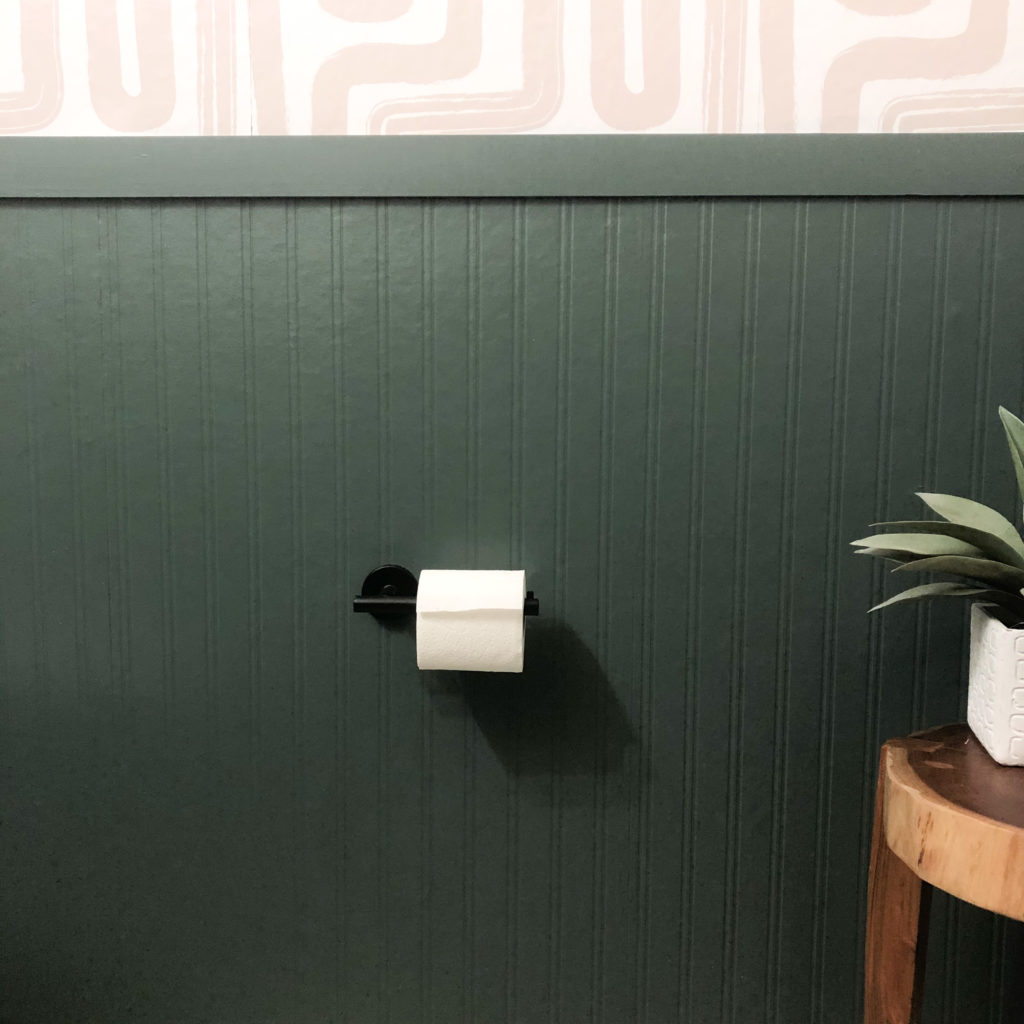
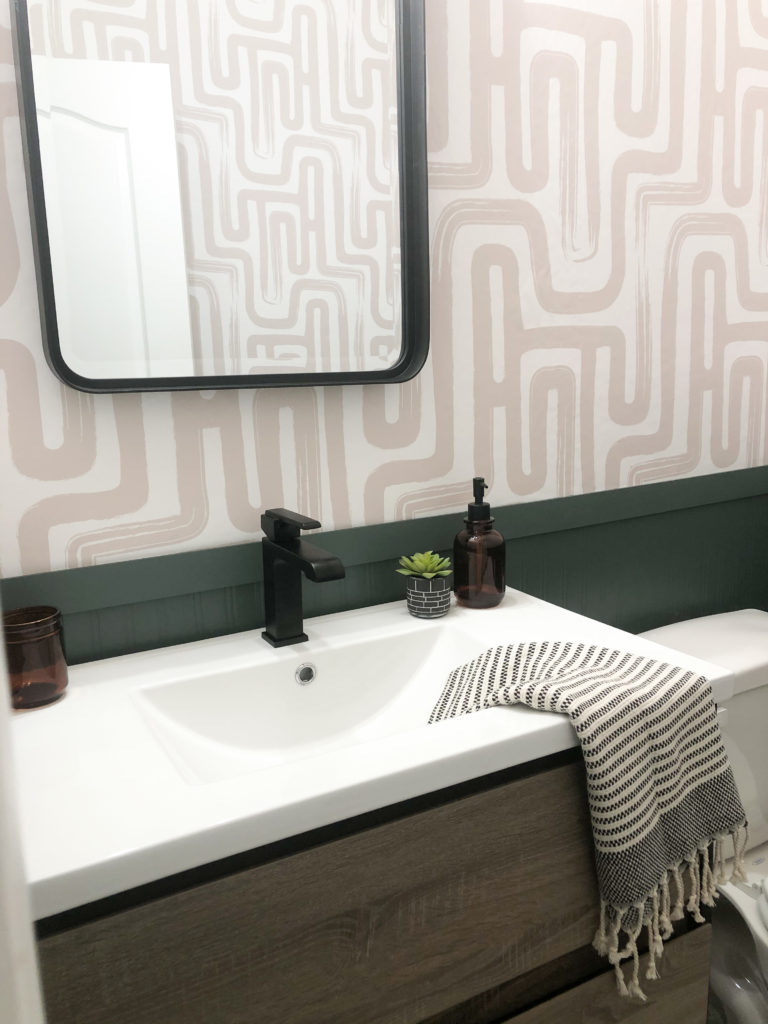
So what do you think? Let me know in the comments below!
Here are the links to everything I used:
Vanity | Faucet | Light Fixture | Door Handle | Toilet Paper Holder | Mirror | Wallpaper | Faux Beadboard |Soap Dispenser | Candle | Wood Trim (Local hardware store. No Link) |

*This post contains affiliate links
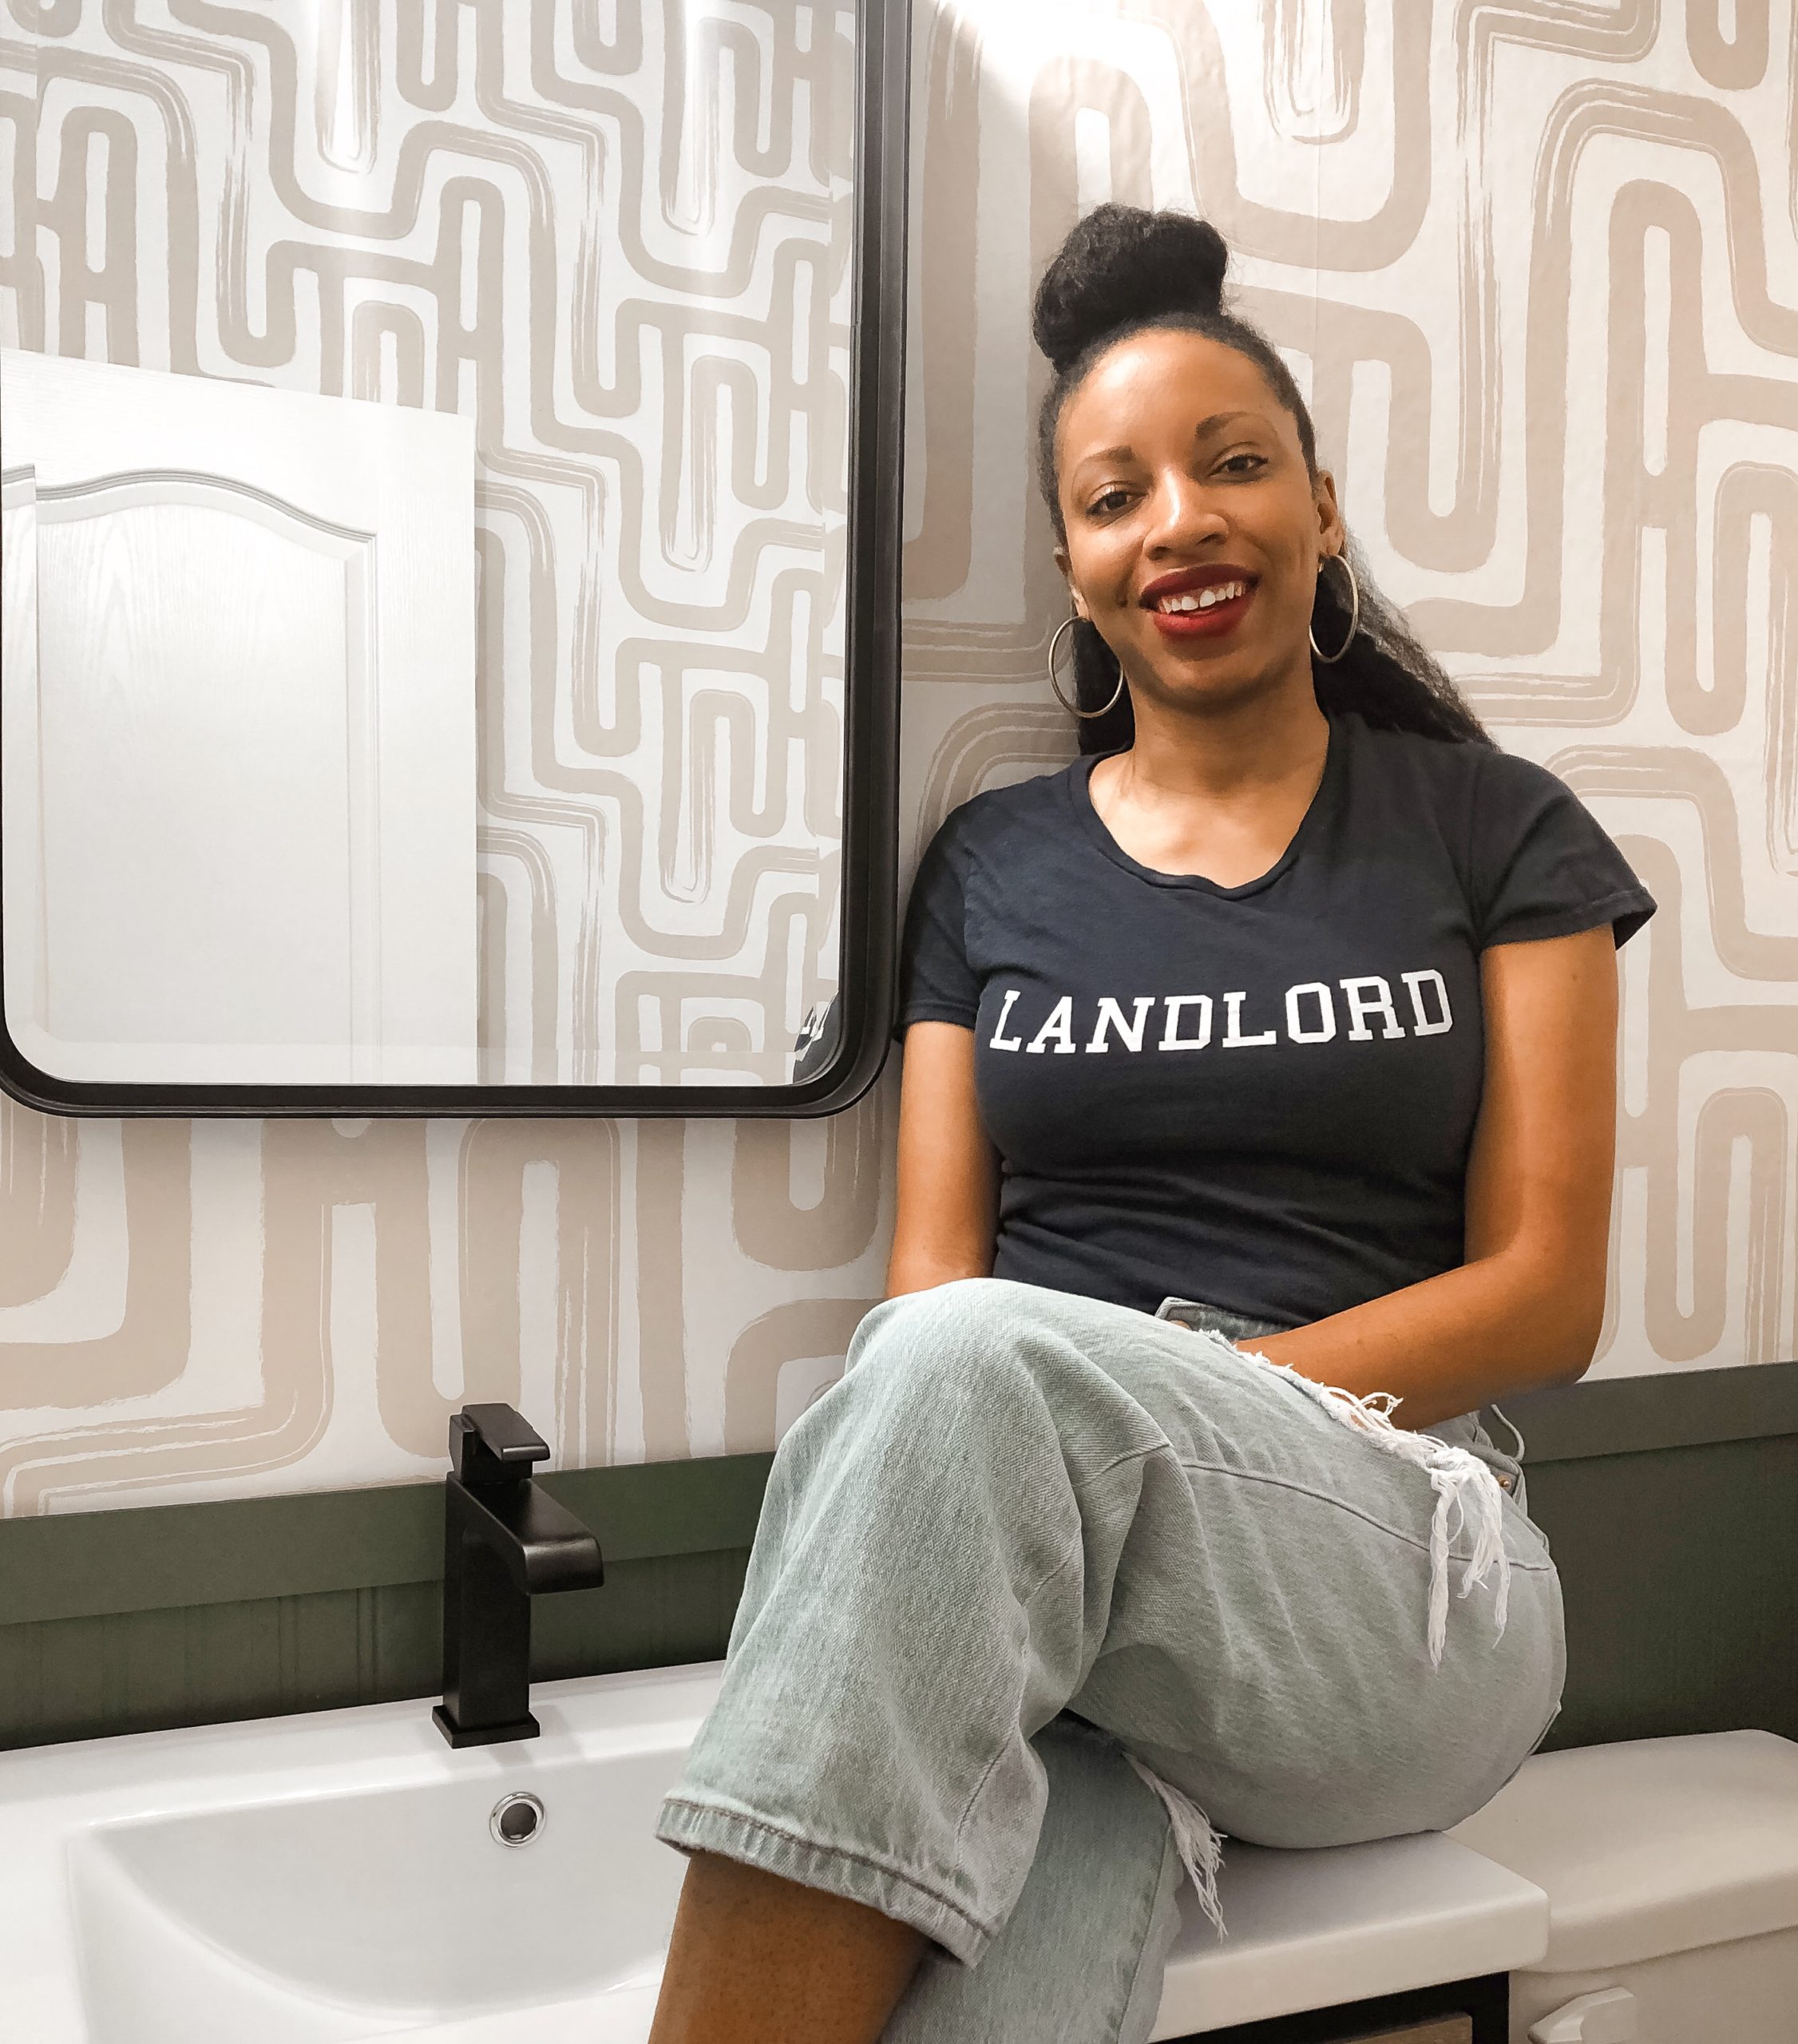
[…] Bold, modern design up top with a moody dark color down bottom. And the vanity just makes all of the colors pop! (More on that in this post.) […]
Did you switch out the sink? The edges look rounder and smoother than the original and what happened to the lip? Thanks!
This seriously looks AMAZING.